Getting Started Guide
First: Create a Class
-
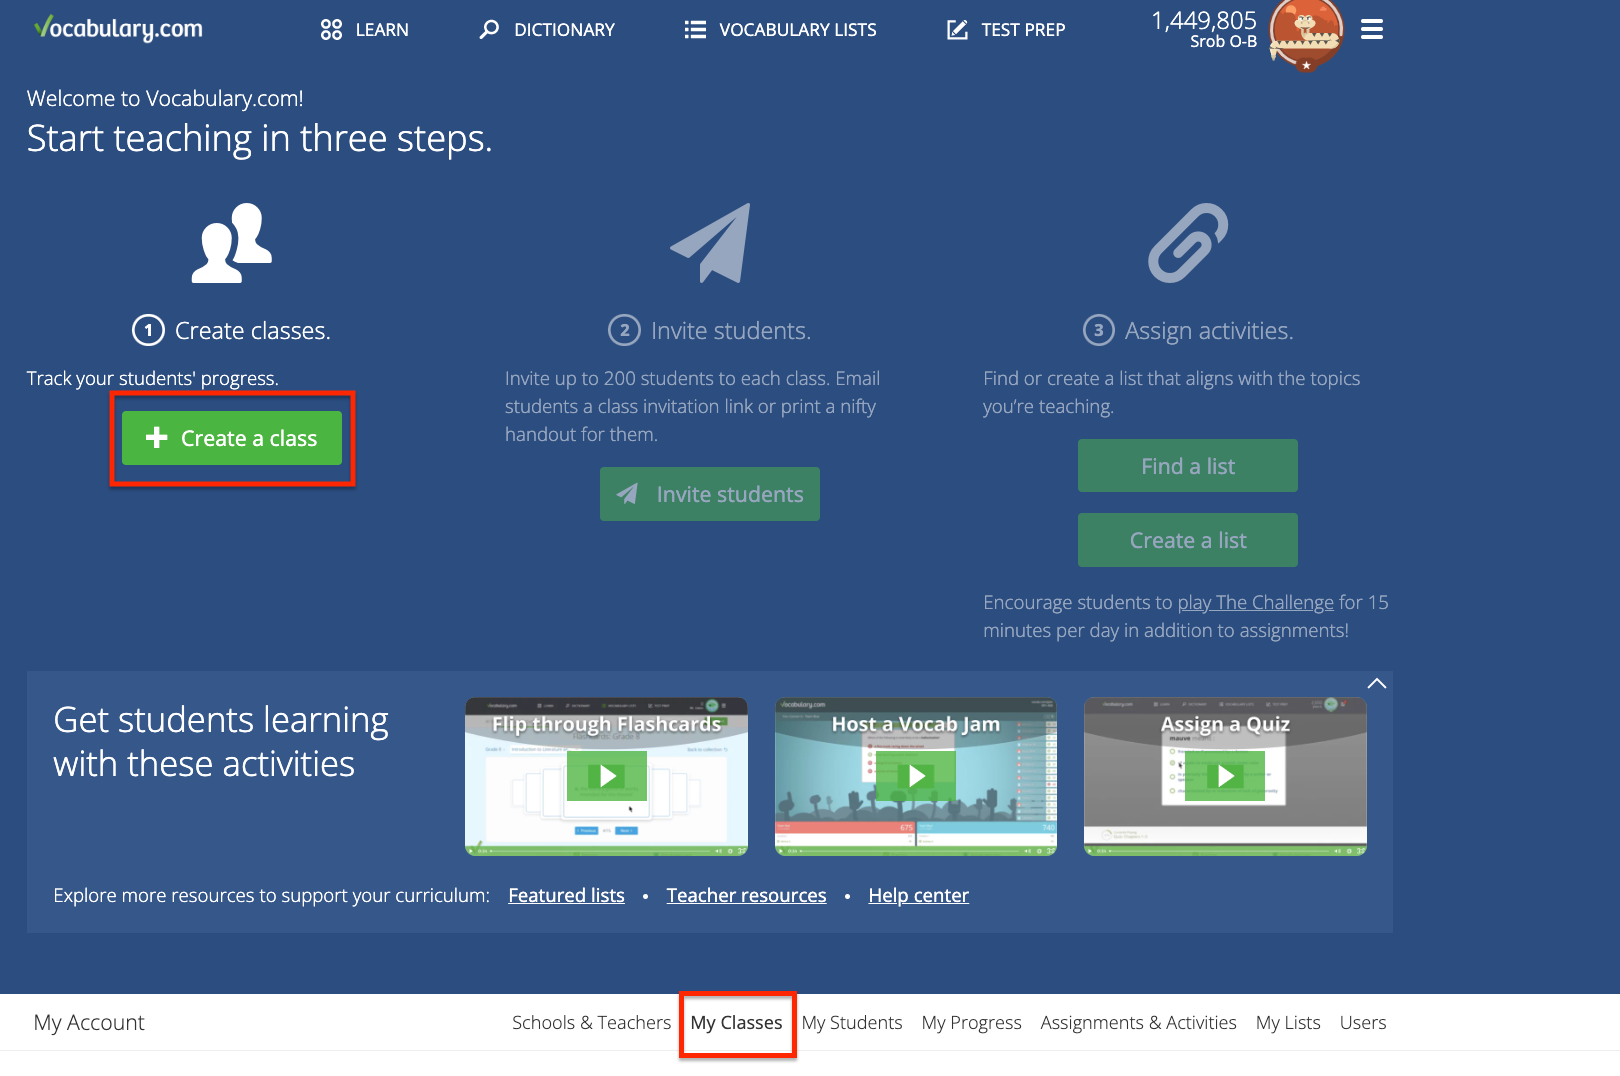
From the My Classes page, click the green Create a New Class button.
- Type in a name for your class. Create a separate class for each period.
-
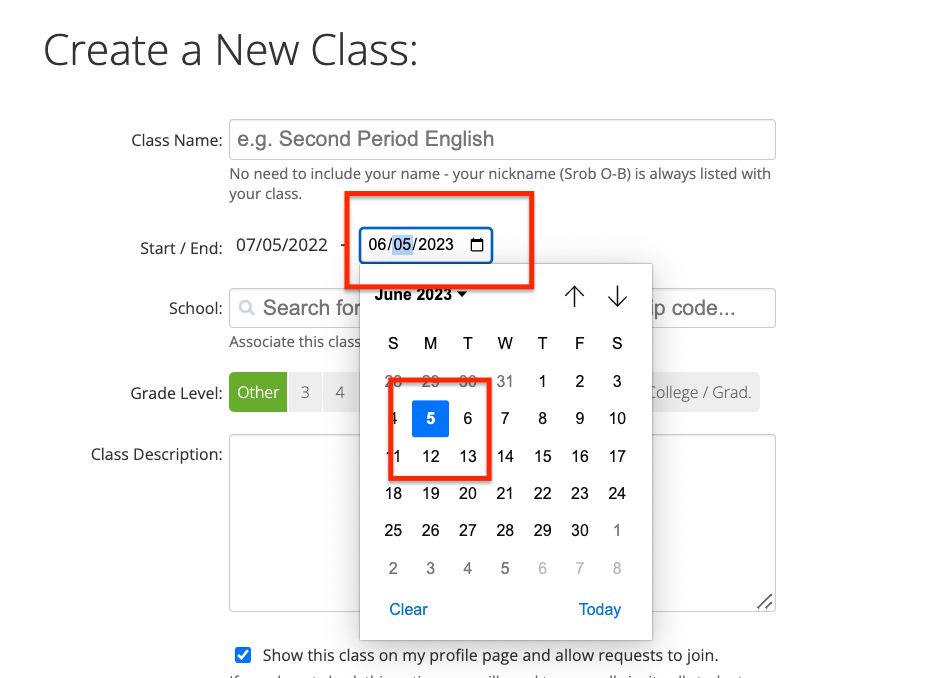
Select an end date for your class. Note: classes can last up to a year.
-
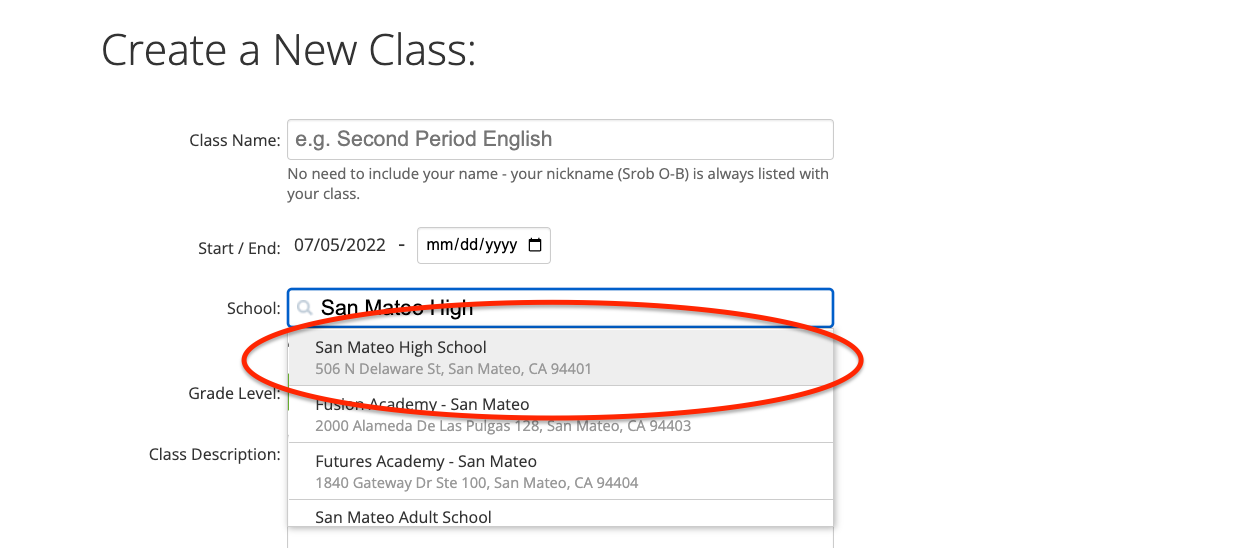
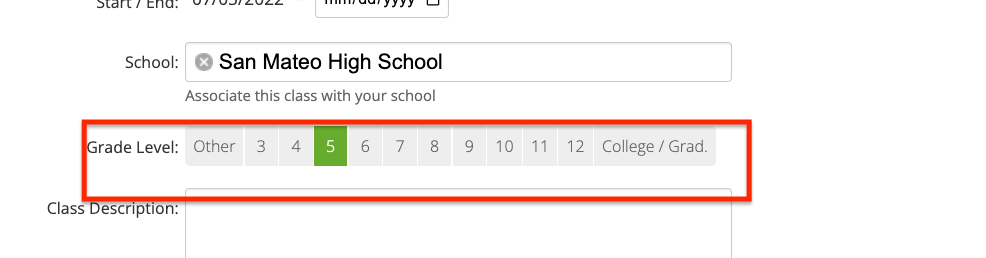
Type in the name of your school and click it. If your school already appears, skip this step.
-
Pick the grade level for your class. If you teach multiple grades, leave this set to "other"
-
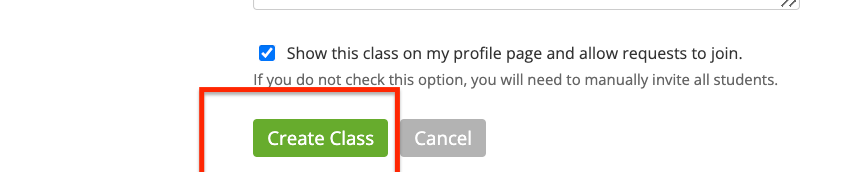
Click the Create Class button.
Then: Invite Students to Your Class
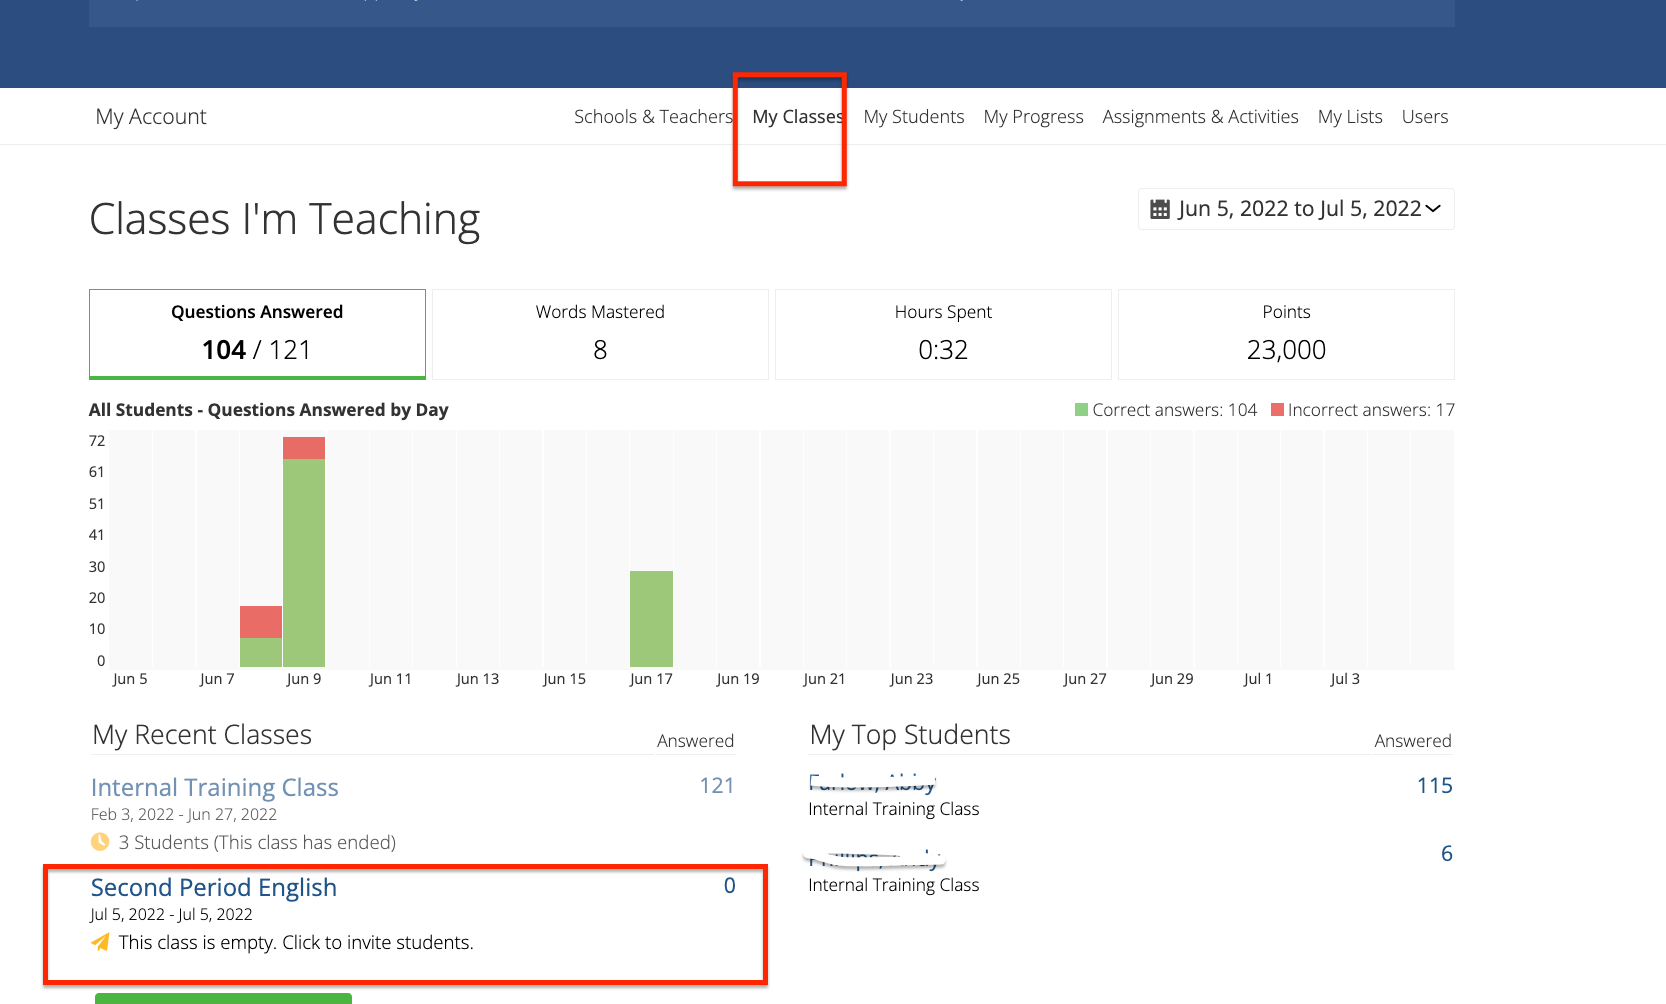
1. From the My Classes page, click the name of your class.
-
Click the Class Roster tab.

-
Click the Class Invitation URL on the right. This will copy the URL for you. Note: each class will have a unique URL.

- Paste the link wherever you post assignments. (cmd + v for Mac; control + v for Windows).
- Each student will need to click the link or type in the URL to join your class.
Next: Assign Work to a Class
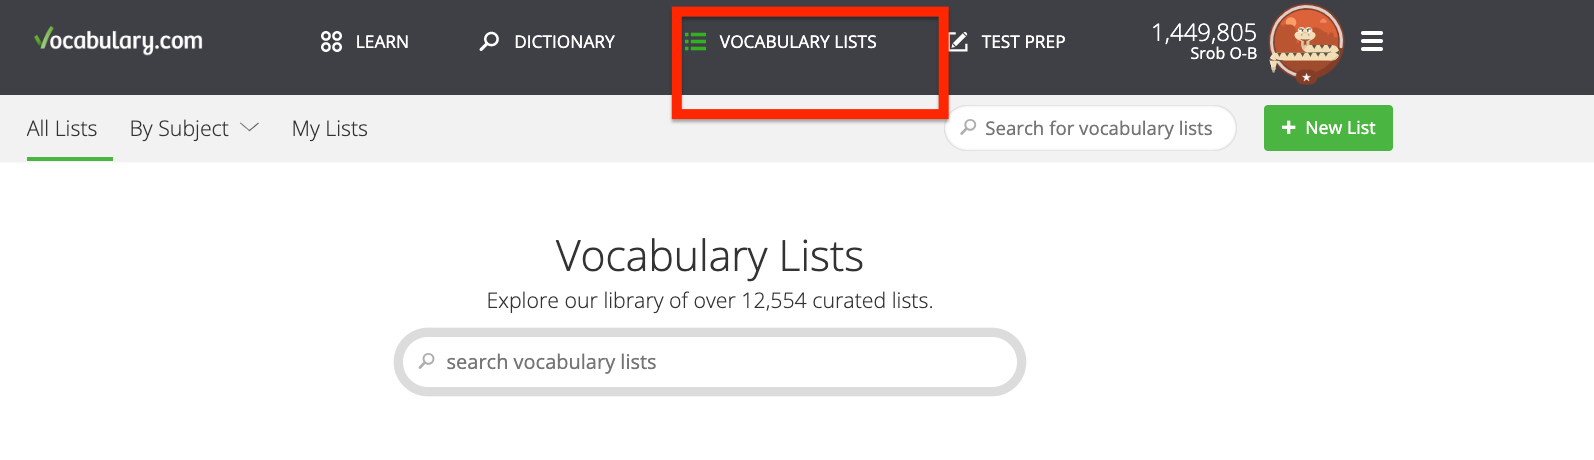
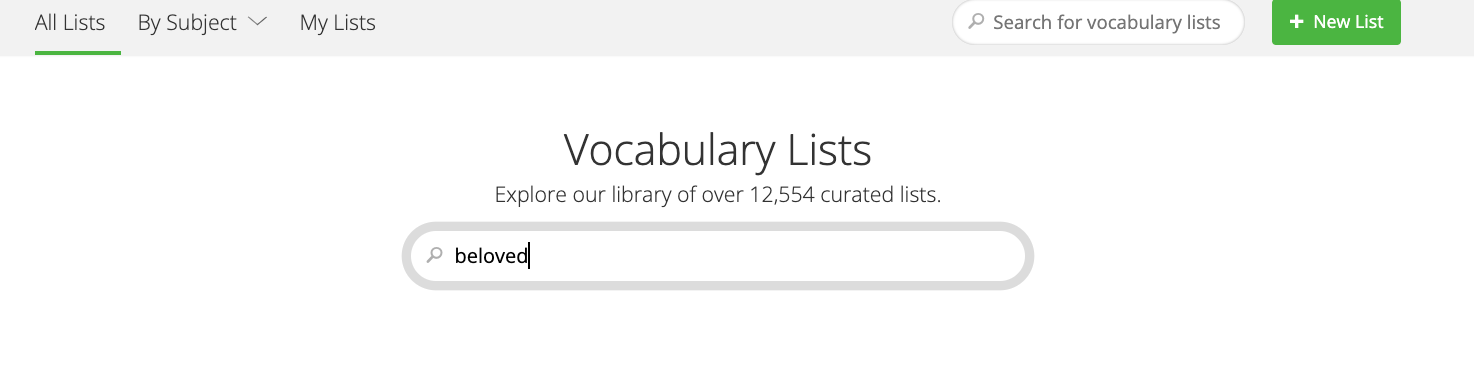
- Click the Lists tab at the top of the website.
-
In the search bar, search for a book, text, or topic you are teaching.
-
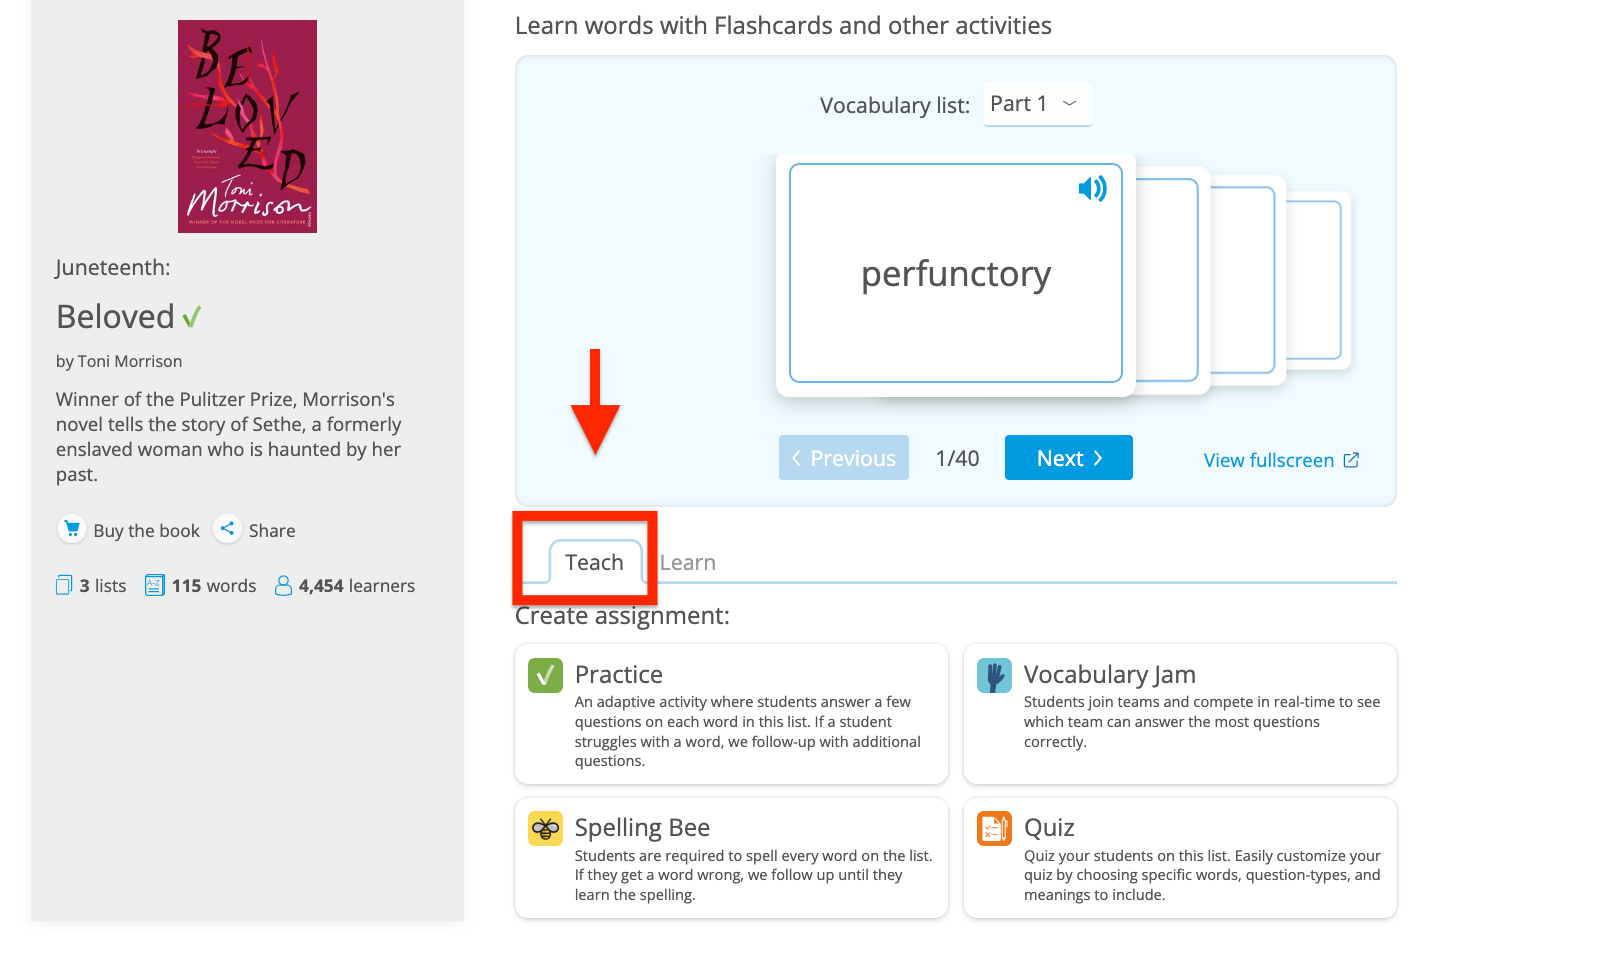
Click on the collection or list you want to assign.

-
Make sure you're on the "Teach" tab. It should be automatically selected.
-
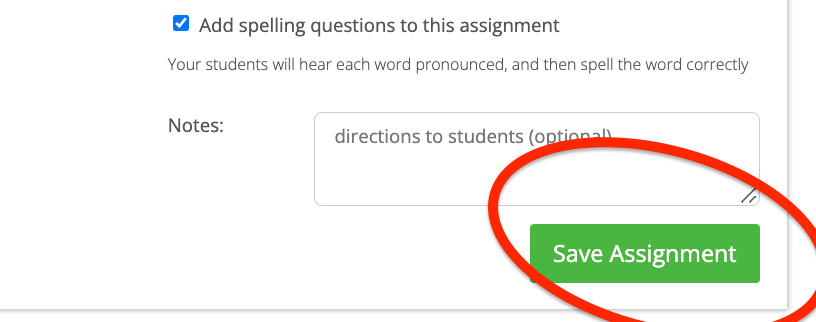
Click the activity you wish to assign. For example, Practice or Spelling Bee.
-
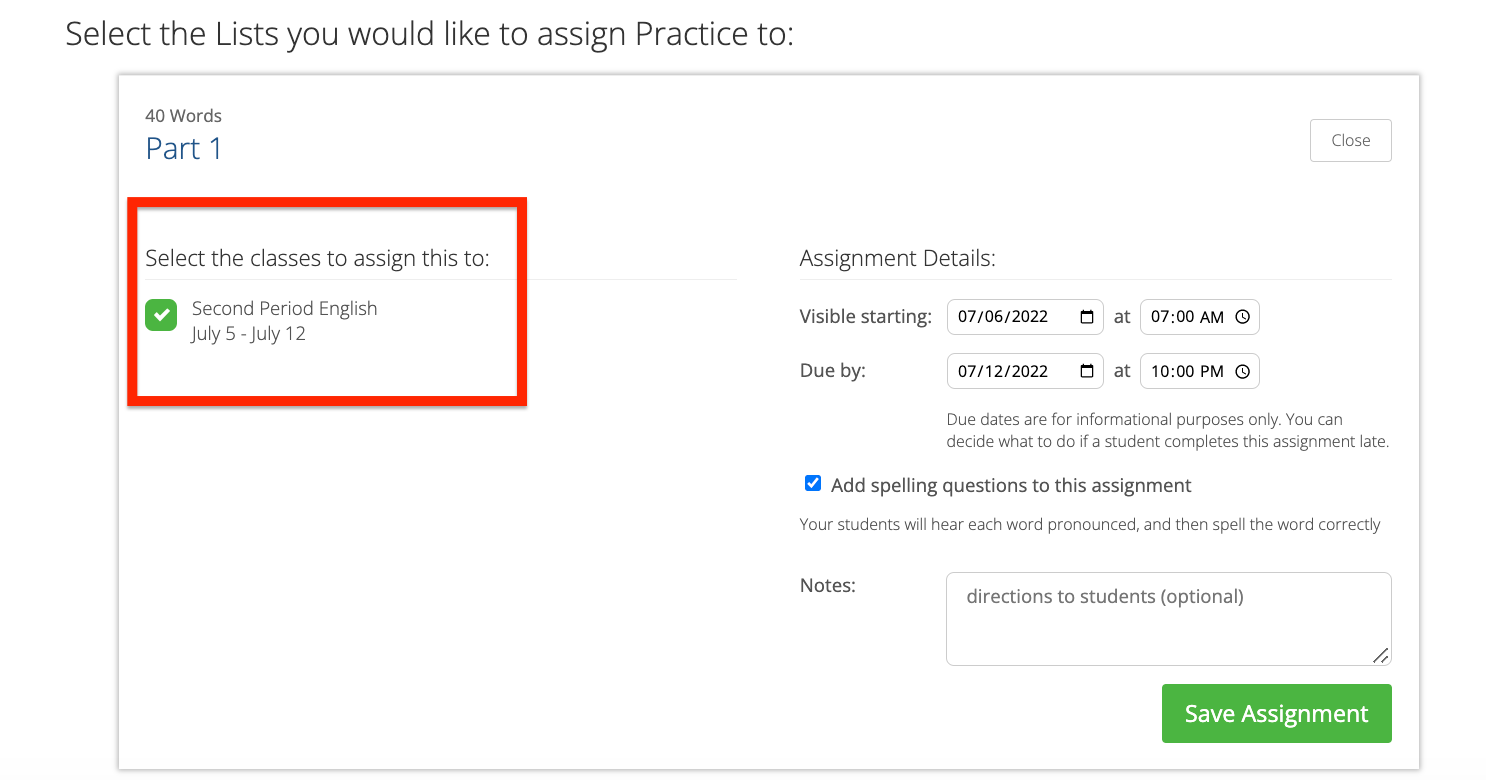
Click the check-box next to the classes you want to assign the list to. Note: you can select multiple classes.
-
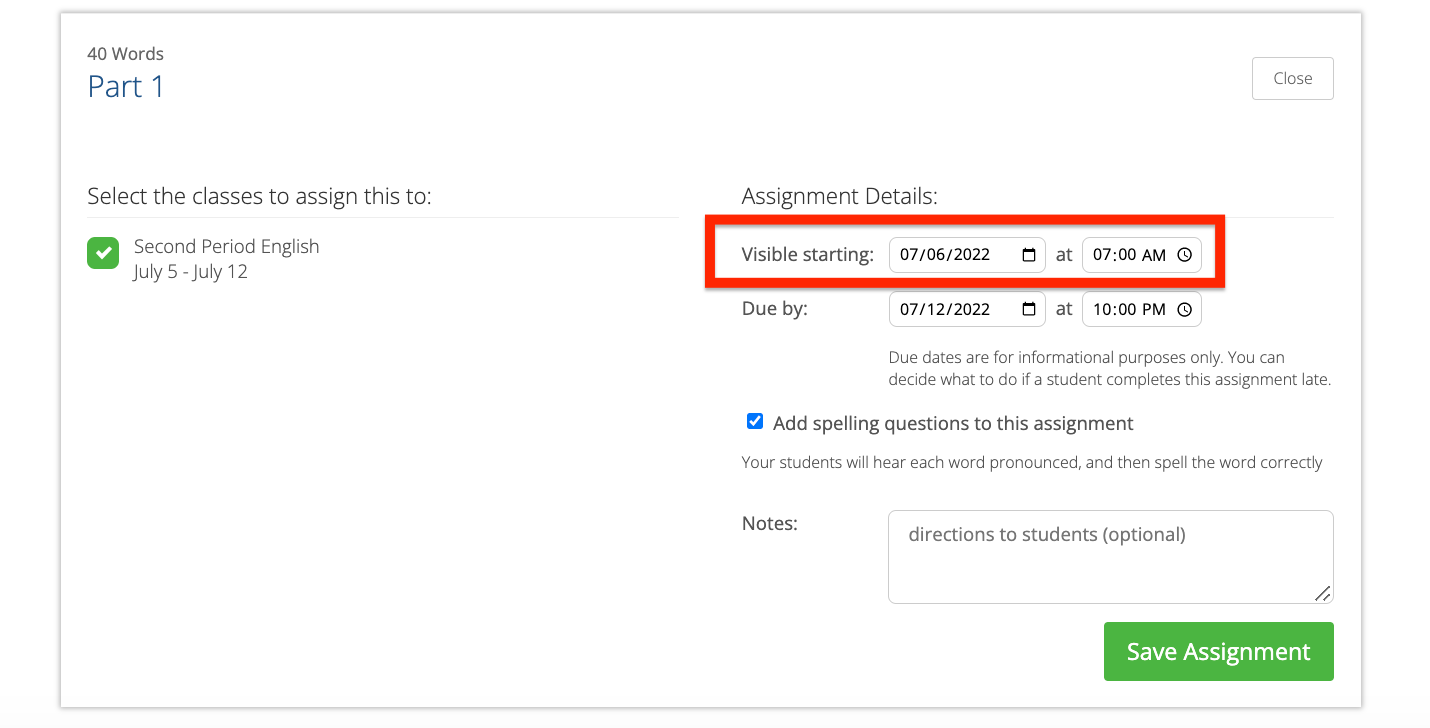
Select a visible date. This is when students will be able to see and start the assignment.
-
Select a due date. Note: students can still complete assignments after the due -date, but you can grade the late assignments how you want.

- Click Assign or Save (if you are assigning a collection).